10. Localization: Launching
Launching
You have your robot, your map, your localization and navigation nodes. Let’s launch it all and test it!
First, launch the simulation:
$ cd /home/workspace/catkin_ws/
$ roslaunch <YOUR PACKAGE NAME> <YOUR WORLD>.launch
In a new terminal, launch the
amcl
launch file:
$ roslaunch <YOUR PACKAGE NAME> amcl.launchRviz Configuration
As you did in a previous section, setup your RViz by adding the necessary displays and selecting the required topics to visualize the robot and also the map.
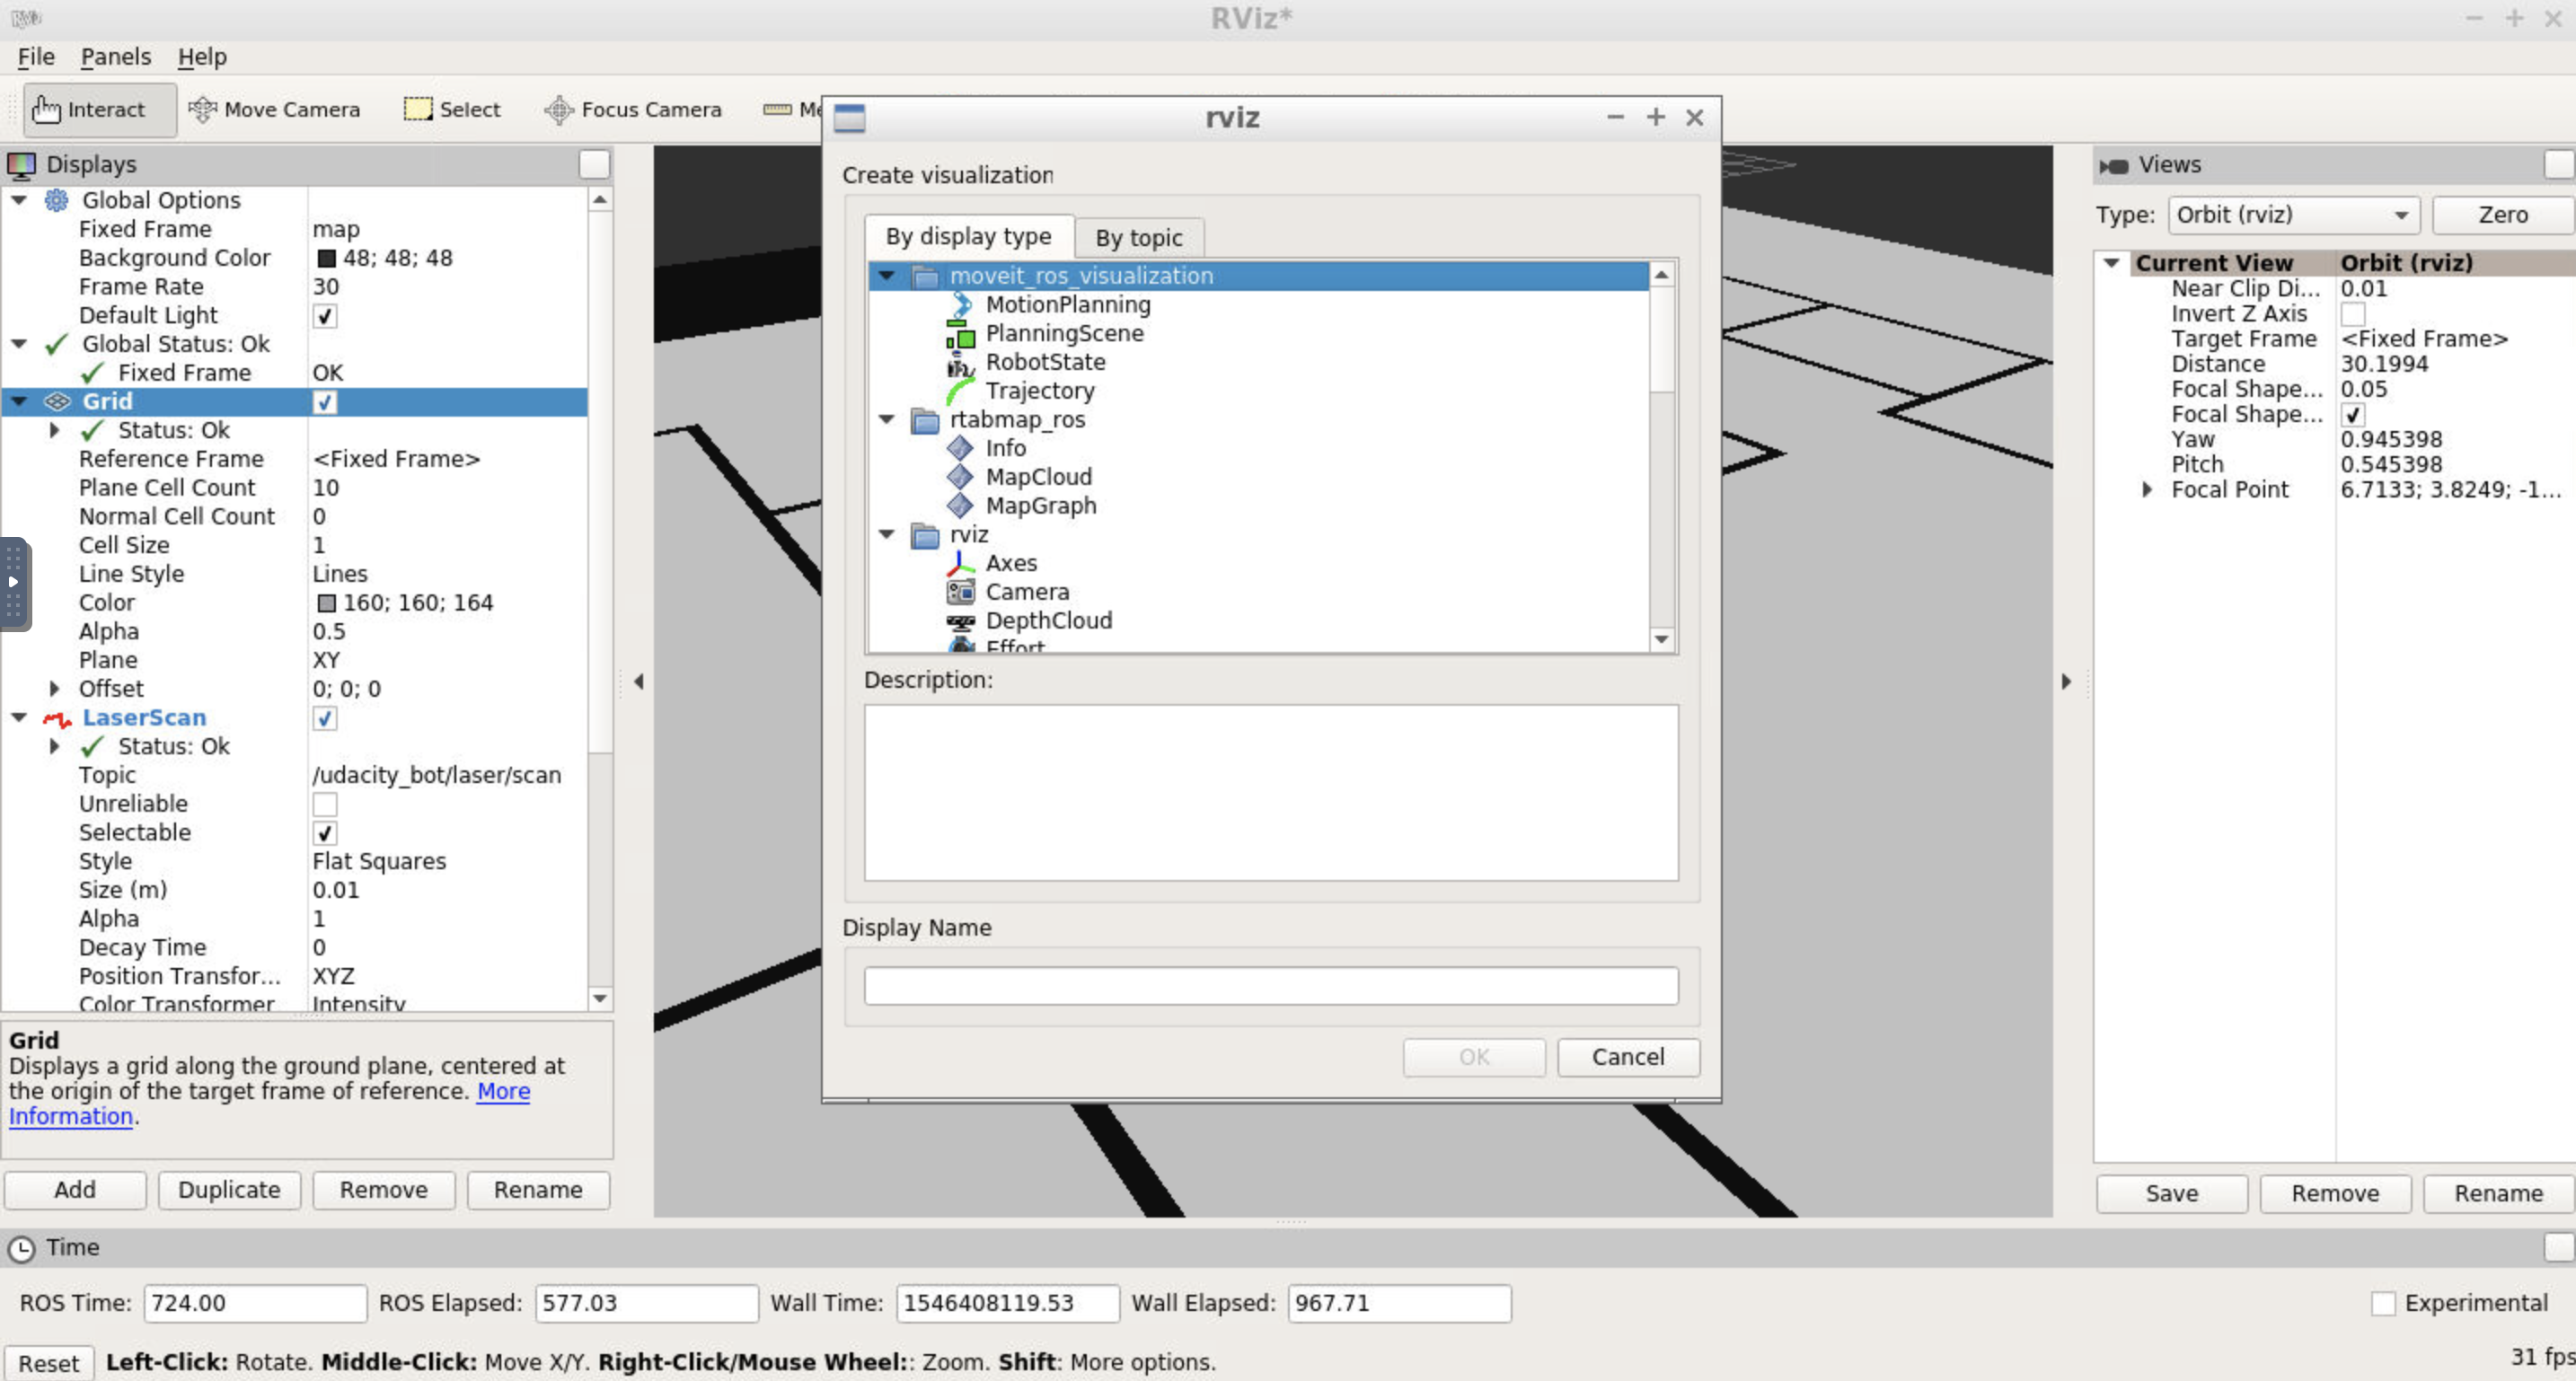
Add by display type
In Rviz,
-
Select
odomfor fixed frame -
Click the “Add” button and
-
add
RobotModel: this would add the robot itself to RViz -
add
Mapand select firsttopic/map: the second and third topics in the list will show the global costmap, and the local costmap. Both can be helpful to tune your parameters -
add
PoseArrayand selecttopic/particlecloud: this will display a set of arrows around the robot
-
add
Each arrow is essentially a particle defining the pose of the robot that your localization package created. Your goal is to add/tune the parameters that will help localize your robot better and thereby improve the pose array.
Note:
You can save the above RViz setup in a configuration file and launch RViz with the same configuration every time. This will make the process more efficient for you! Click
file
->
save config
to save the current configuration.
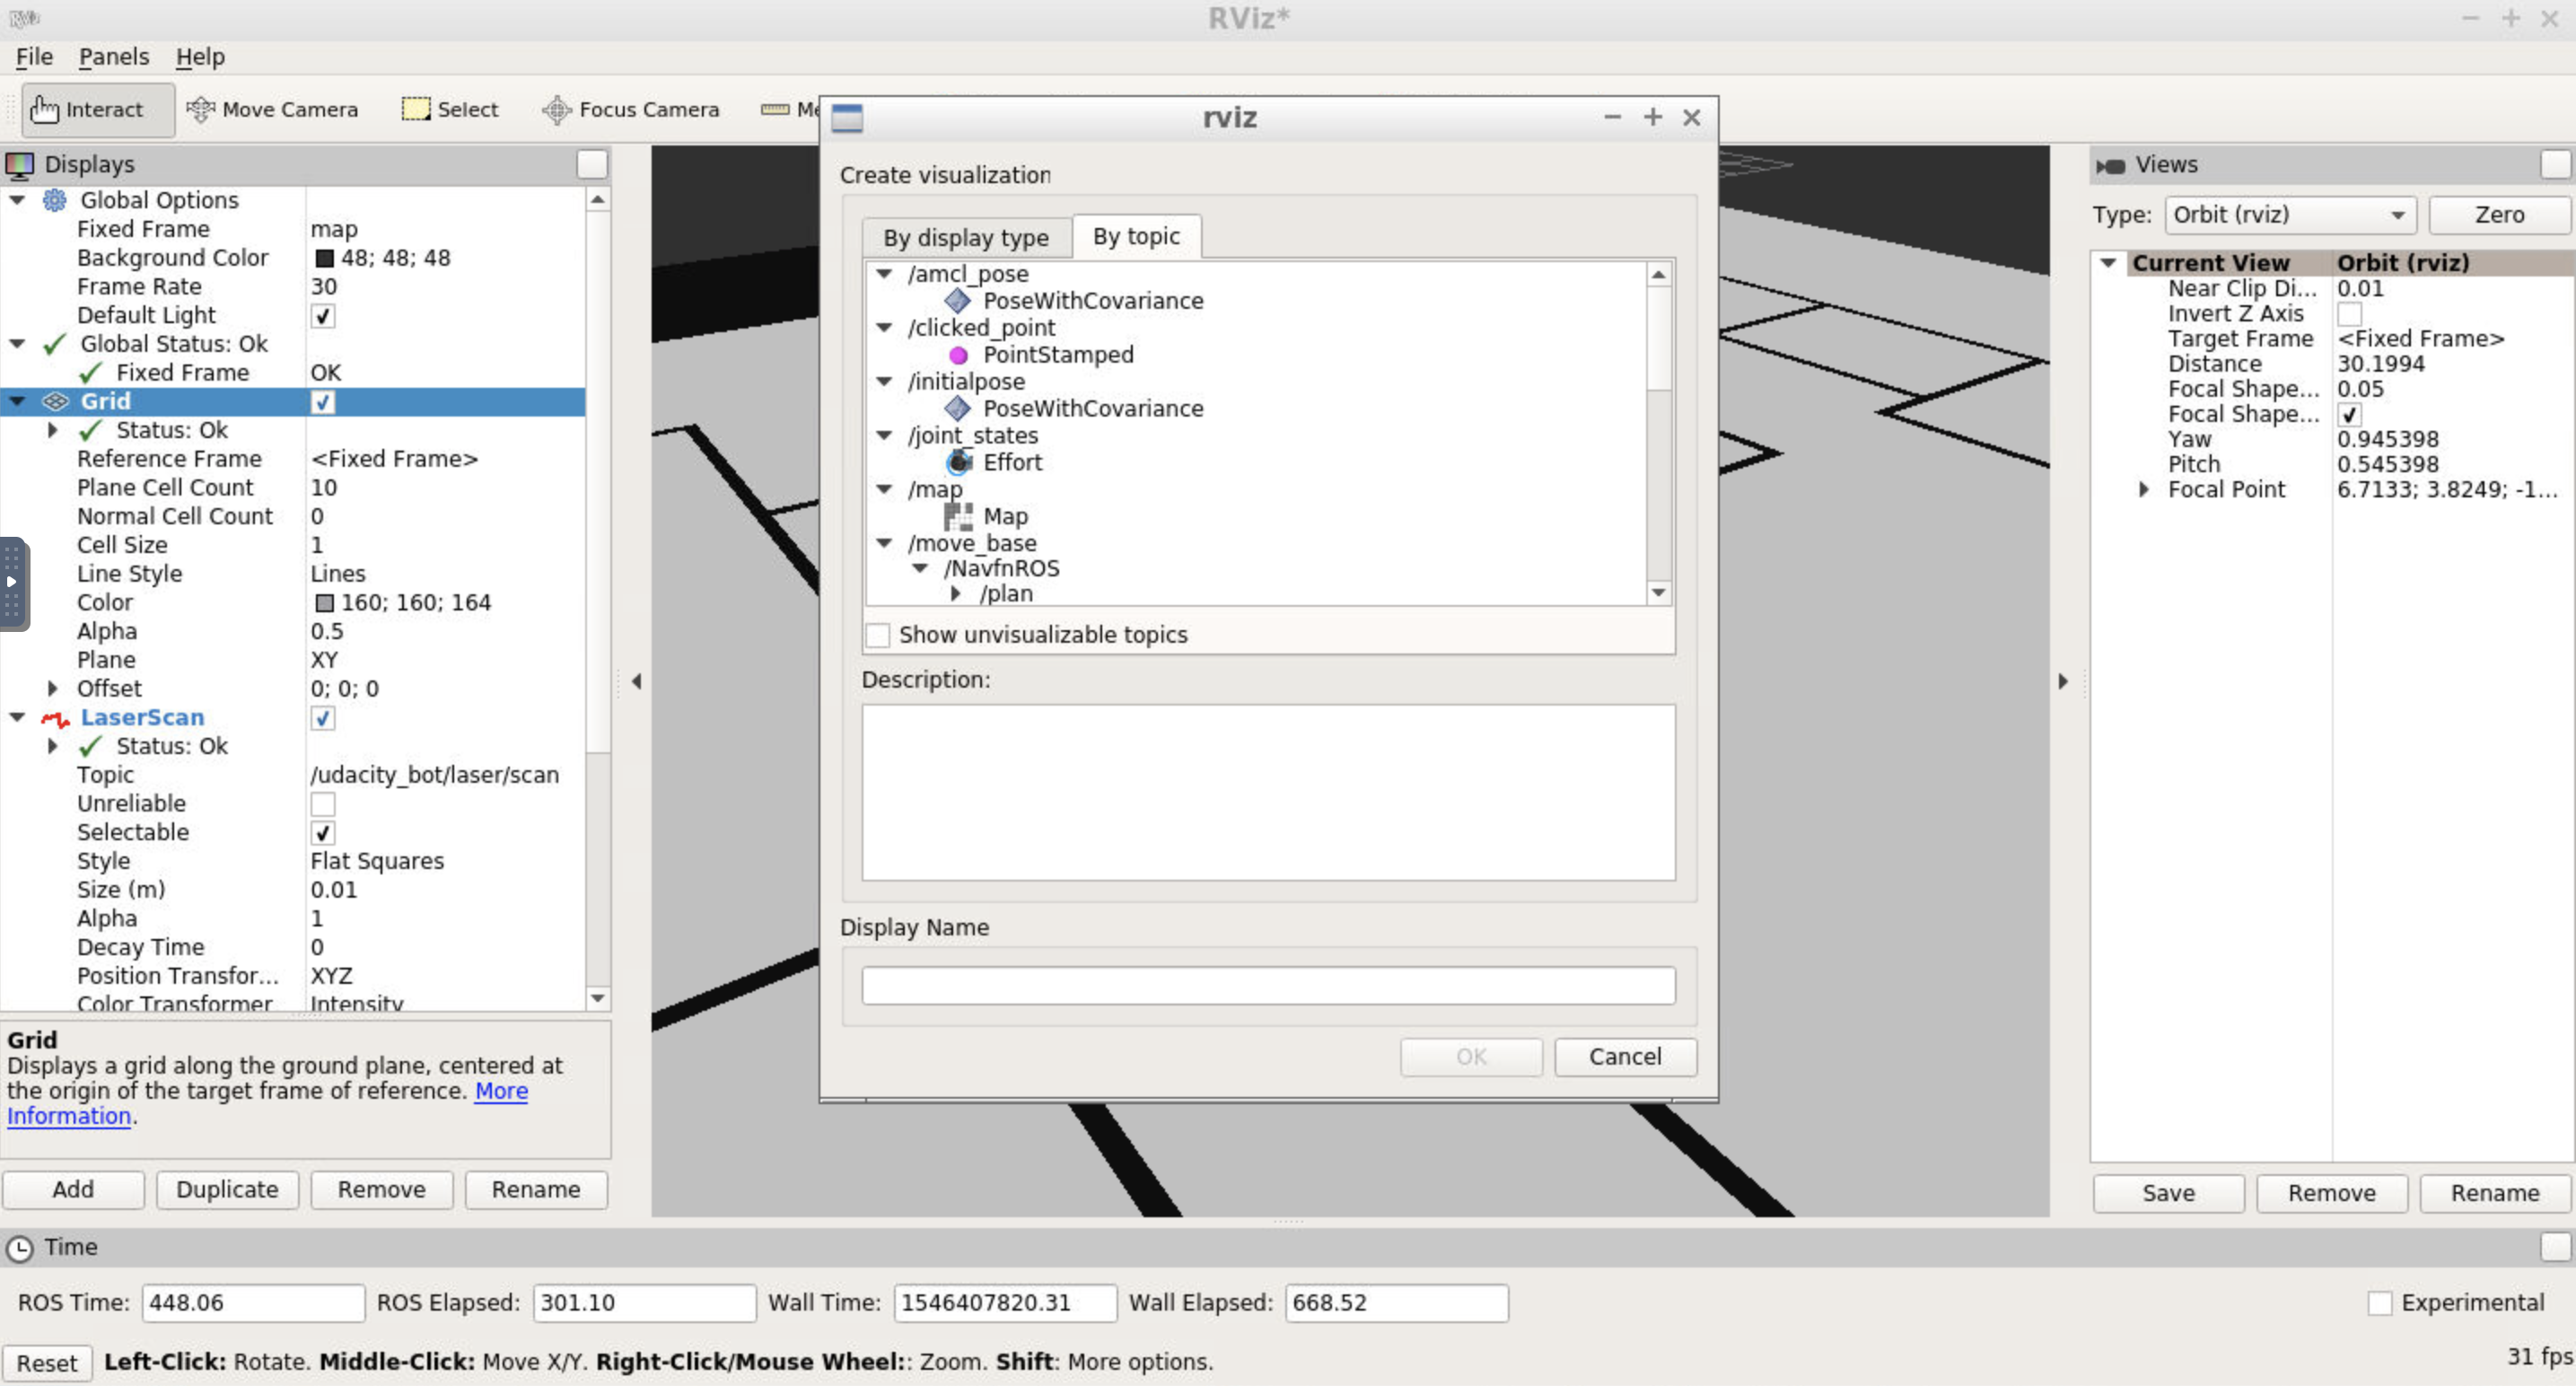
Add by topic
When adding elements to RViz, you could also select
By topic
tab. Here, all valid topics would be displayed and you could locate what you need faster!
Transform Timeout
and
Map Update Loop
If you received warning on
Transform Timeout
and
Map Update Loop
, you might want to configure the corresponding parameters. Namely larger
transform_tolerance
value for the AMCL node and lower
update_frequency
&
publish_frequency
values in the configuration files.